
Loading trays 2, 3, and 4
Trays 2, 3, and 4 are 500-sheet paper
trays. Tray 3 is optional and comes with
the 4100TN and 4100DTN models. Tray
4 is an additional 500-sheet option.
The trays adjust for six standard sizes of
media, as well as for many custom sizes
(for details, see “Supported sizes and
weights of paper - trays 2, 3, and 4” on
page 190). Three adjustments on the
trays let the printer sense the paper size
that is loaded.
Note
To avoid paper jams, do not load trays
while the printer is printing.
1
Pull the tray completely out of the
printer.
2
If the tray is not already set to the
desired paper size, you will need to
make up to three adjustments:
2A: To adjust the width, squeeze the
lever on the left guide and slide the
guides into place to match the width
of the paper.
2B: To adjust the length, squeeze
the lever on the rear paper guide and
slide it to the desired paper size until
it clicks into place. Standard sizes
are labeled. For A5-size paper, lift
the metal backstop near the center
of the tray.
2C: To make the third adjustment,
squeeze the blue tab located on the
right side of the tray and move it to
the correct position based on the
paper size required.
Continued on the next page.
1
2A
2B
2C
48 Chapter 2 - Printing tasks
EN
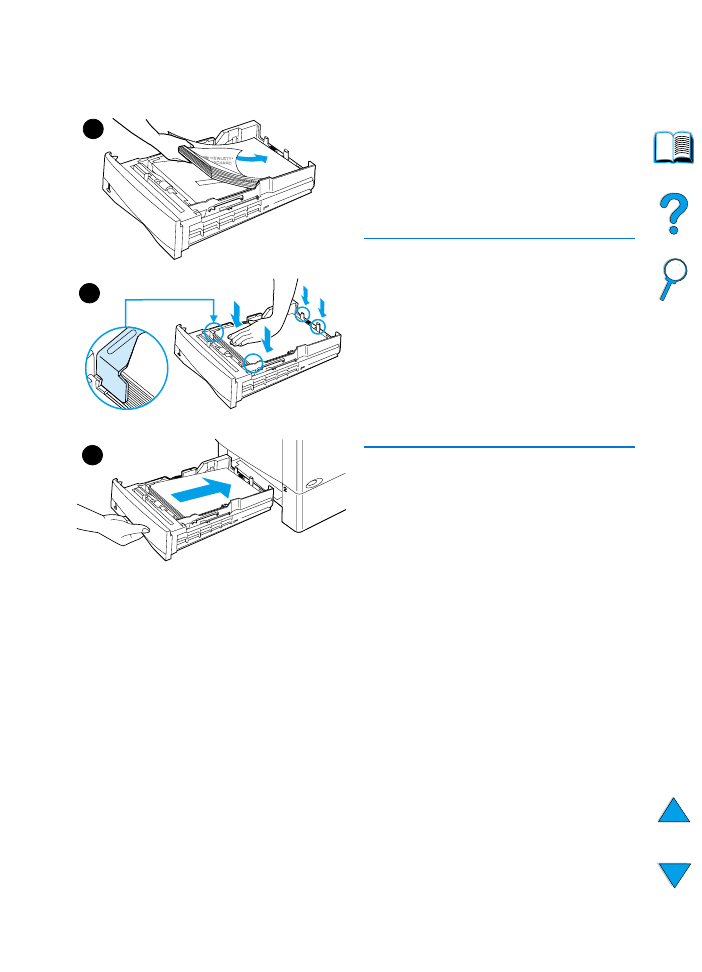
3
Load paper into the tray.
4
Make sure the paper is flat in the tray
at all four corners and below the
front and back tabs.
5
Slide the tray back into the printer.
Note
If the tray is not properly adjusted, the
printer might display an error message
or paper might jam.
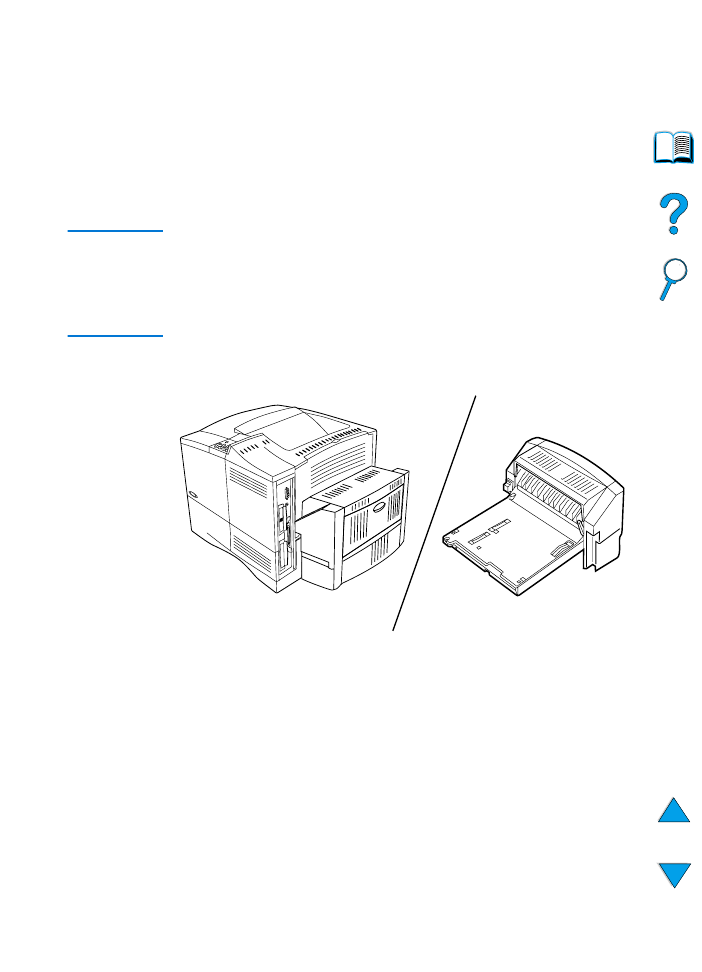
For paper orientation when you are
printing on both sides, see “Printing both
sides of paper (optional duplexer)” on
page 49. For information on loading
special paper, see “Printing special
paper” on page 53.
3
5
4
EN
Printing both sides of paper (optional duplexer) 49